Showing posts with label woodworking. Show all posts

Monday, November 07, 2016

Building a workbench without a workbench

I've been learning to use hand tools and I've quickly realized that a good workbench is essential.  With power tools, like a table saw or drill press, the tool itself often supports the wood.  But with hand tools you must have something to support the wood while you bring the tool to the wood.

So I've started to build a workbench (more on that later).  The first problem I've run into is that I'm using hand tools to build a workbench, so...  Chicken or the egg...

Here's some tricks that I've come up with to hold boards while I work on them.

The simplest trick is to use a table against a wall stud.  The board butts up to the stud for face planing.  The board can be offset from the wall stud with scrap wood so that you can plane up to the end of the board without running the plane into the stud.  If the board is long, the far end can be supported with a sawhorse.

If the board is the same thickness or thinner than the scrap wood blocks then I've found it handy to put a small wedge under the board to raise it above the level of the scrap blocks.


The last trick is useful for edge planing a board.  Turn the board on edge and butt it against the scrap wood blocks and wall stud, as before.  Then to secure it in place I put more scrap wood blocks on either side of the board and clamp them in place to keep the board from tipping in either direction.

These tricks work, but they're not ideal, and it's really making me look forward to when the bench will be done and ready to use.

Sunday, November 06, 2016

Things I've learned about the lowly block plane


As part of my workbench build, I've been planing some end grain after making crosscuts on boards. The usual tool for this job is the often overlooked block plane. I've found that it's pretty hard to plane edge grain well!

The problem is when planing end grain you are cutting across all the wood fibers, instead of splitting off a few long wood fibers as you do when planing with the grain.

Here's that I've figured out so far:
  • Make sure the plane blade is as sharp as possible.  This is always true, but with other planes you can get by with a less than razor-sharp blade
  • Set the depth of the plane blade to take a very shallow cut, otherwise the plane will be hard to push and may chatter.
  • It helps to make a skew cut on the end grain (turn the plane at a 45-ish degree angle to the board)
  • Soak the end grain with a bit of alcohol to soften the wood fibers
  • Make sure you're putting enough downforce on the front of the plane. If you have too much force on the back of the plane then it may cause the blade to chatter
  • If the plane has an adjustable mouth, adjusting it to make the opening smaller helps with making shallow cuts
  • If you have one available, use a low angle plane, as the lower angle of the blade makes it significantly easier to cut end grain.
A fine tool, but maybe not for planing end grain

I started off with my vintage block plane, which is basically a Sargent 306.  It's a good plane but adjusting it to cut end grain well was tricky.  There were several issues with that plane:
  • The depth adjuster had alot of backlash, meaning it was hard to get a really precise depth adjustment
  • Locking the blade with the lever cap tended to change the depth and lateral adjustment of the plane a little, which usually meant it took several tries to get it properly adjusted
  • The plane is not a low angle plane

A New Plane
Just when I was getting frustrated, I lucked out and my Mom found a vintage Stanley no. 60-1/2 low angle block plane at an antique store (Thanks Mom!).  It needed a little work to tune it up, but it was in good shape.

When I tune up planes I usually clean the grime and rust off, but leave some of the patina that makes it look old.  This is less work and in my opinion looks better anyway.  Some people prefer to make the plane look like the day it rolled out of the factory, but that's more than is required to make the plane function like it's brand new.

Here's a few before and after pictures:
Top: before, Bottom: after.  Not much difference visibly except there was lots of paint and grime in the knurling and threads of the depth adjuster.  I cleaned that out with a dental pick.

Again not much visible difference except that the blade was previously coated with lacquer or paint to protect it from rust, I guess.

The blade was sharpened with quite a bit of skew. I straightened it out on the grinder.

After flattening and polishing the back of the blade.  There is a bit of pitting, but nothing catastrophic.


The plane sole was in pretty good condition.  I made sure it was flat and shined it up a bit.

The first cut: works like a champ!


You never quite know how good a plane is going to be until you're done tuning it up, but this one turned out really well. Here's the payoff:


Monday, August 22, 2016

A free band saw

Thanks to my wife's keen eye on our neighborhood message board, I just scored a FREE band saw.  It seems that someone was cleaning out their garage and just wanted to get it out of their ASAP.  It's a Craftsman 12" band saw from the 80s.

Check out the pictures below.  It needs one new tire and a new table insert (which I might be able to make myself).  It seems like the bearings are in good shape, the tensioner works, and the motor runs.  So after some cleaning, lubricating, adjusting, and $30-40 in parts it should be in good shape again.

This is after I brushed off the loose dirt and cobwebs

It's dirty, a little rusty, and several generations of
wasps have lived in there, but the bones looks
pretty good.

The motor pulley and belt need to be re-attached.  No biggie.

This is probably the biggest issue (which still isn't bad).  The
top wheel needs a new tire since a section of it is missing.

Monday, August 15, 2016

Sharpening old tools

If you thought, based on the title of this post, that I'd be discussing refreshing some previously learned skills, you may be disappointed.  Instead I'll actually be showing off how I sharpened some vintage woodworking tools.

I've recently been re-discovering my woodworking hobby, while learning to use hand tools in place of the power tools I've previously used.  There are many reasons I've decided to use less electricity to make wooden objects, but I'll save all of that for another post.  I'll just focus on sharpening for now.

Rough Grinding
Usually you start sharpening by rough grinding the bevel angle on the blade.  This step is only required if you are setting a new bevel angle or if the blade is otherwise damaged.  You can do the rough grinding by hand but I opted to use a power grinder with a 40 grit grinding wheel.  So I lose some hand tool merit points for using electricity here.  All of the blades I sharpened were to 25 degrees, which is pretty standard.

Honing Methods
There are tons of ways to sharpen metal blades: oil stones, water stones, diamond plates, etc.  I'll be using a lesser-known method: sand paper.  I learned about using sand paper from the Naked Woodworker, but there are many people that prefer this method, often known by the name Scary Sharp.

The basic requirements are three or four grits of sand paper going from around 150 grit up to 800 or 1000.  Spray adhesive (or similar) is used to attach the sand paper to a flat surface like plate glass.  When I went to the Home Depot to get supplies they only had very thin window glass, and I wanted something thicker.  I was impatient so rather than waiting to go to a glass shop, I looked around in the tile section and found a large floor tile that was dead flat (I checked it with a straight edge).  I haven't heard of anyone using floor tiles before but I can't think of a reason it shouldn't work.

With any of these methods it's common to use a honing guide to keep the angle, though some people like to freehand the bevel angle once it's been rough ground.  I used two different honing guides, an Eclipse and a Veritas.

The Block Plane
The first thing I tried to sharpen was an old Craftsman block plane (circa 1920). It was the first time I've use a grinder and I had a little trouble getting the tool rest set to the right angle.  The end result is that the blade has two bevel angles as you can see in the photo below.  Functionally it works fine, even if it's a little ugly, and after honing I can shave with it.

I tested the plane out by cutting some end grain bevels (something a block plane is ideal for).  It seemed to perform pretty well even while taking a pretty aggressive cut.


The Smoothing Plane and Chisels
Next up was a nice Millers Falls Smoothing Plane.  This one was straight-forward except that whoever had previously sharpened it had kind of messed it up and put quite a bit of skew on the blade (maybe it was intentional).  I ground off the skew and made it straight across again.  I also knocked down the corners of the blade a little to reduce tear out.  After honing I was able to take paper-thin shavings which is what you need in a smoothing plane.

I also sharpened some chisels, but they were brand new and factory ground to 25 degrees to they just required a quick honing.  I didn't even get any pictures of the chisels.


The Jack Plane
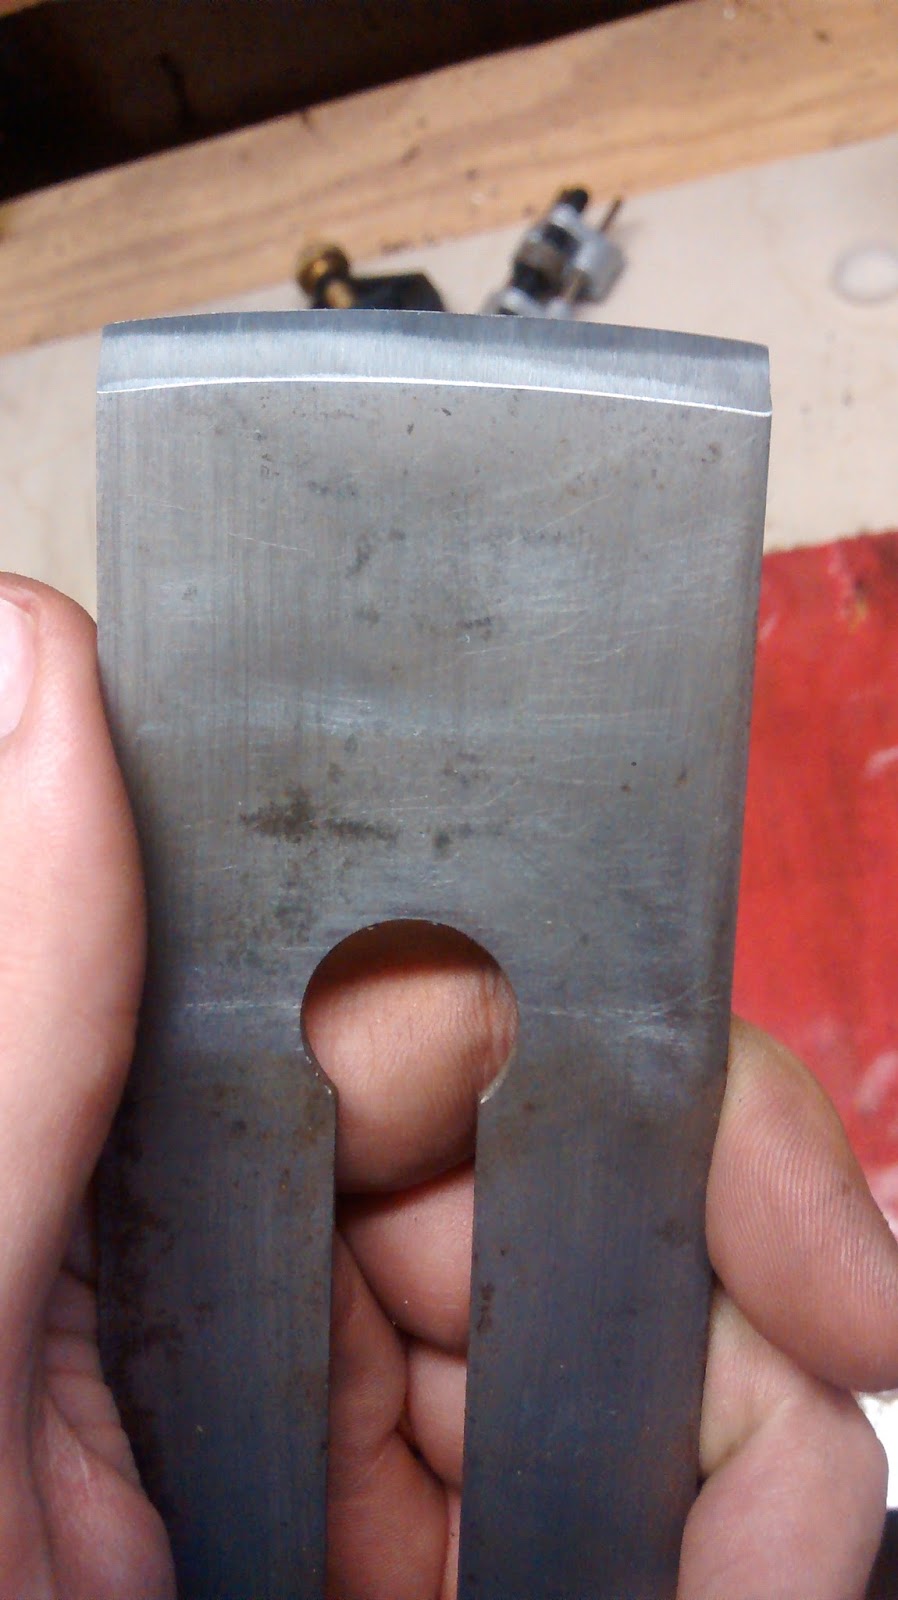
I left the most difficult one for last.  A jack plane is usually used for taking off lots of wood quickly.  To optimize for this the blade geometry needs a little curve, which is called camber.  Although the curvature is slight this allows the plane to scoop the wood out and take off much larger chips.  This is really useful if the wood is twisted or cupped and you need to take off an eighth of inch or so.

I wanted to take about a sixteenth of an inch off of each corner, and beyond that I just planned on free-handing it on the grinder. I got a tip from watching some YouTube videos that it easiest to take the corners off by putting the blade into the wheel at 90 degrees and then once the curve is ground the same 25 degrees bevel is established all the way across.  It took a while but I eventually got the camber you can see below.

Honing a cambered blade was a little trickier than a straight blade, since you need to sort of lean the blade back and forth as you hone.  For this I used the eclipse guide since it has a small wheel that lets you lean the guide much easier than the Veritas guide.

To test I took a fairly conservative cut, and although it may be hard to see in the photo below, it took some quite thick chips.  It was interesting that I could feel the camber of the blade in the chips, in that they were quick thick in the middle but got paper thin at the edges.