Sunday, July 23, 2006

The control panel got a makeover this weekend and now looks like swiss cheese. I routed all of the joystick recesses, drilled holes for all the buttons, cut the hole for the trackball, and attached the hinges to the top and bottom pieces. I didn't clean up the sawdust the entire time I was cutting all of the holes; you wouldn't believe how big the pile was by the time I was done.

Next up I just need to finish the control panel (as in apply stain and polyurethane to it), and then I can mount and wire the controls.

Below are two pics; the first is of the control panel with the lid up showing the underside of the top panel, the second is with the top down.


Tuesday, July 18, 2006

Over the weekend I got a few more things done. After successfully mounting the controls on the sample panel, I spent some time marking out where the holes and cuts should be made in the actual panel. This was a bit strange since I marked everything on the underside of the top panel, so it all had to be mirrored.

In addition, I got the slot for the T-moulding routed in the outside edge of the control panel. I ordered a bit from Rockler to do this and it did the job perfectly.

Tonight I'm going to recheck the layout on the control panel and then start cutting the holes for the buttons, joysticks, and trackball.

Friday, July 14, 2006

Tonight I successfully mounted the trackball, joystick and a button on my sample panel. There's a pitcure below. I think it turned out pretty well.

As I was working tonight a HUGE moth flew in to the shop and landed on my workbench (luckily on a part I wasn't using at the time). It then sat in the same spot for over an hour as I drilled hammered and sawed just two feet away on the same bench. I must have gotten some sawdust on it while I was working, and yet it didn't move. Maybe it's dead or maybe we've got ourselves a mascot. There's a picture of it below as well.


Thursday, July 13, 2006

It's been a while since I've posted so here's a few new pics of my progress:


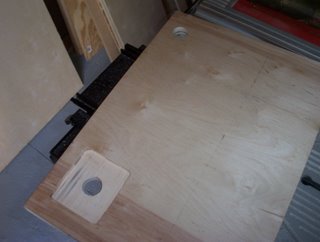
Here I've made a few holes for mounting a button and a recessed hole for a joystick. These are just sample holes in a piece of scrap wood. I'm particularly proud of the recessed hole since I routed it freehand (it's on the underside of the control panel so the uneven edges won't show. I still need to do a test hole for the trackball and spinner. When I get done with this I'll post a pic with the actual controls mounted on the board.


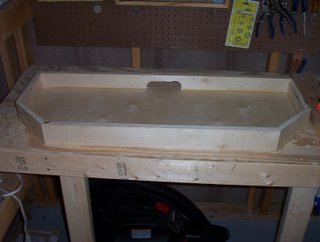
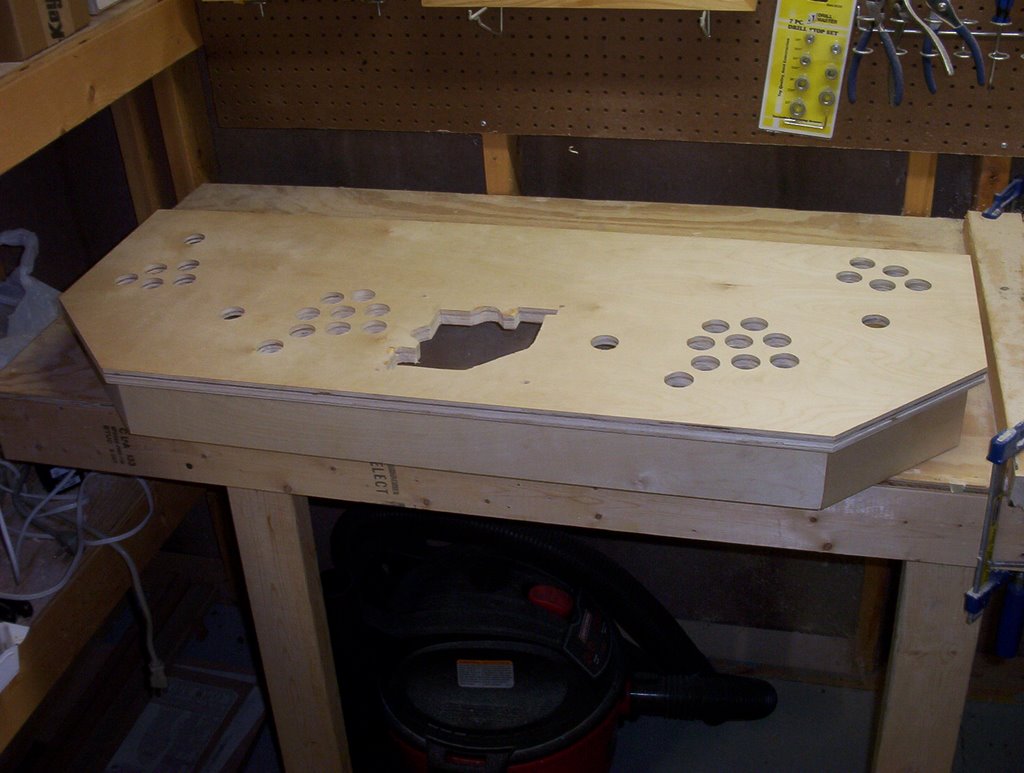
This is a pic of the control panel box (without the top panel). The ugly hole in the back is for cabling; it won't show once the top is attached.


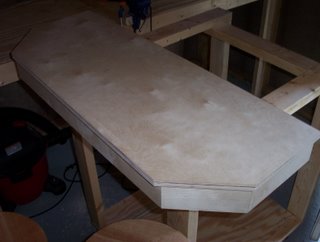
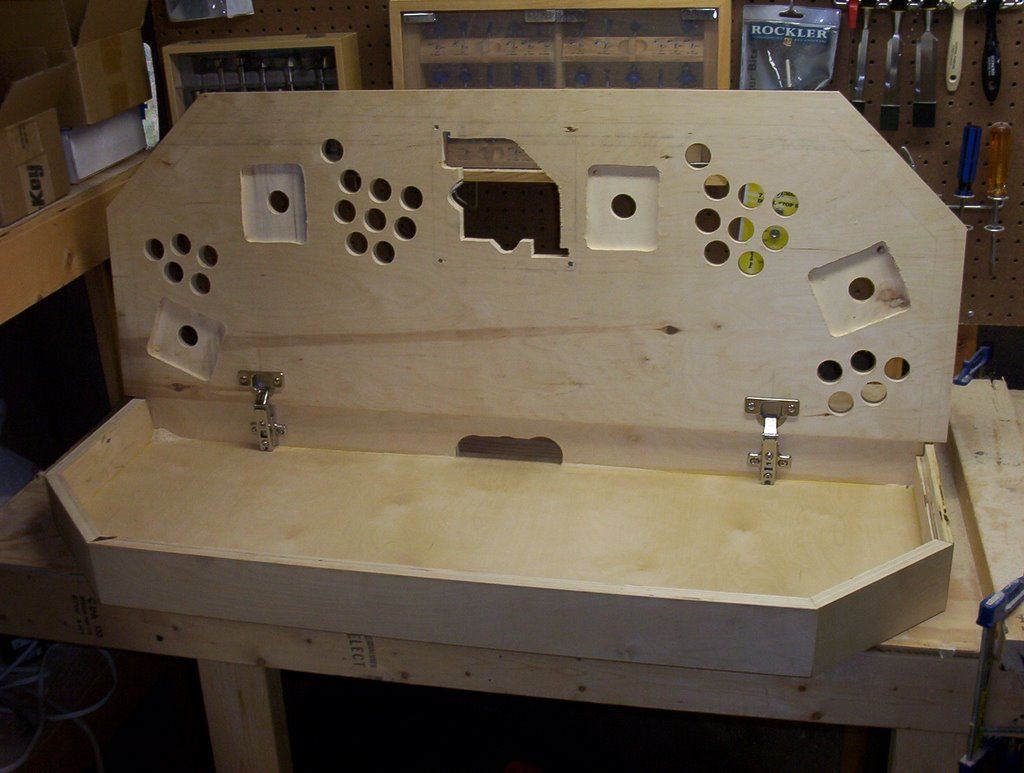
And here's a pic of the control panel with the top, sitting on top of the arcade structure. This shows the proper height and position of the control panel. Now just imagine two 7' tall sides, a front panel with coin door and a monitor above the control panel, and you should have a pretty good idea what the finished product will look like.

Next up: Finish the control sample mountings and draw out the final control layout on the top panel.