Wednesday, June 28, 2006

Last night I got the rest of the aprons pieces glued up, which is tricky with only two hands, but I think I pulled it off. I also finally took some more pictures.


The picture above is of the stained sample we made. I think we're going to use the technique we used on the center-bottom section in the photo.


This is a (slightly blurry) picture of the tenon jig I made last weekend.


This is a pic of the feather board I made to be used on the sliding miter table. It's amazing how much a feather board helps with rip cuts.


This last one is of the glued-up apron pieces on the clamps.

Friday, June 23, 2006

Last night I put in a little time and completed a feather board which attaches to the BT3100's sliding miter table. I also completed cutting about half the pieces for the tenon jig.

It was pretty cool because I got to do several firsts:
-Worked with MDF for the first time
-Made a 45 degree miter cut on the SMT
-Cut a large sheet by myself (using roller stands to support it instead of having a human there to catch it)
-Cut a blind slot using the router table

Thursday, June 22, 2006

Not much progress over this past week. I had to work last weekend, so I didn't get much of a chance to work on the arcade.

On the up side, I did get the back piece cut and tested out the stain I bought. I think we're going to use an American Oak gel stain using a dry brush technique.

I also came up with an idea to clamp and glue the angled pieces together. It's basically a homemade version of the Clamp-It system. In order to do that I need a tenon jig, so I've bought the materials to build one from the BT3Central website. And while I'm at it I'm going to make a finger board that clamps to the sliding miter table as well. So this will set me back a bit time-wise, but all of these accessories will be very useful in the future, so I think it's time well spent. So that'll probably be the weekend...

Wednesday, June 14, 2006

I just found some pics of me at the shooting range with a friend of mine. I can't remember exactly what the guns were (they weren't mine), but I know that that there were several .22 target rifles and another Russian or Czech rifle that shot way bigger ammo.


Tuesday, June 13, 2006

So we've made some good progress on the arcade over the past week or so. We've finished up the angle cuts and rabbits on the control panel side pieces. This is the time I've really used my router and it performed admirably.

Next up we've got to cut the back piece (forgot to do that before) and then we're going to be starting the assembly process. We've still got some work to do on the control panel top: cut the corners off of it, cut holes in it for the controls, and route a slot in the edges for the T-moulding to fit into.

I also bought some gel stain that I'm going to try out on a sample piece of birch to see if it looks good. If it looks decent, then I'll get a bigger can of it and put that followed by several coats of polyurethane on all the exterior pieces.

Here's a few pics:
This is a weird shot. I swear my hands were over 6 inches away from the blade but it looks like I'm going to slice a finger right off.


Here's another one that's a bit out of focus. This is at least a better angle that makes me look like I actually know how to use a saw.

Monday, June 05, 2006

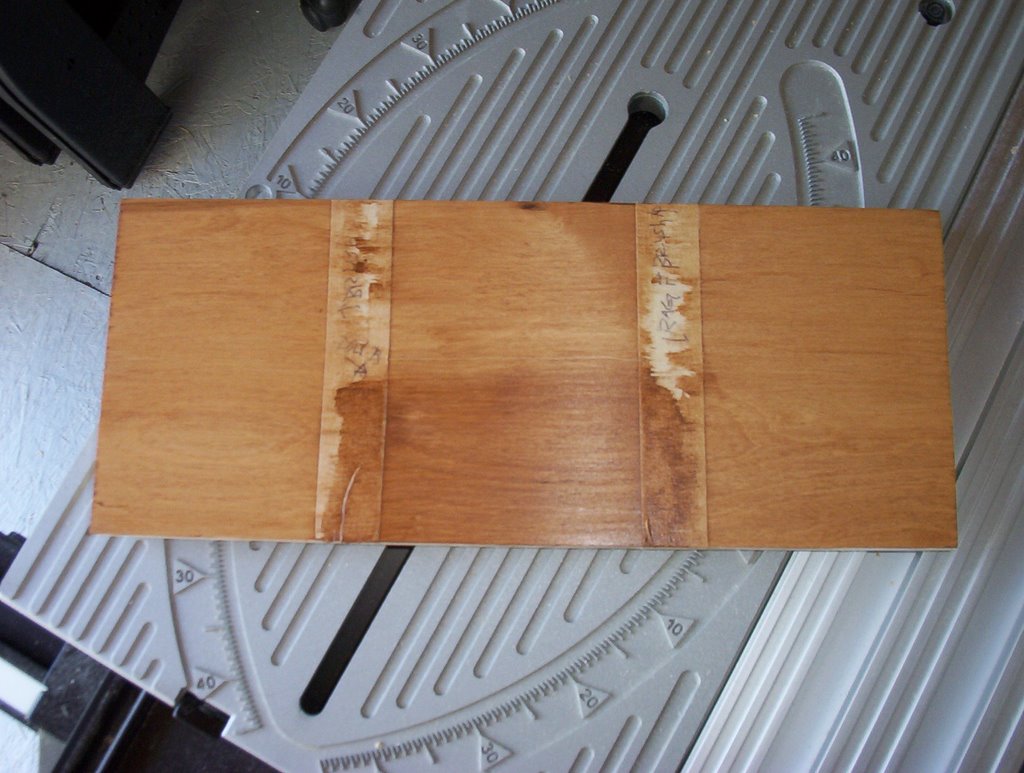
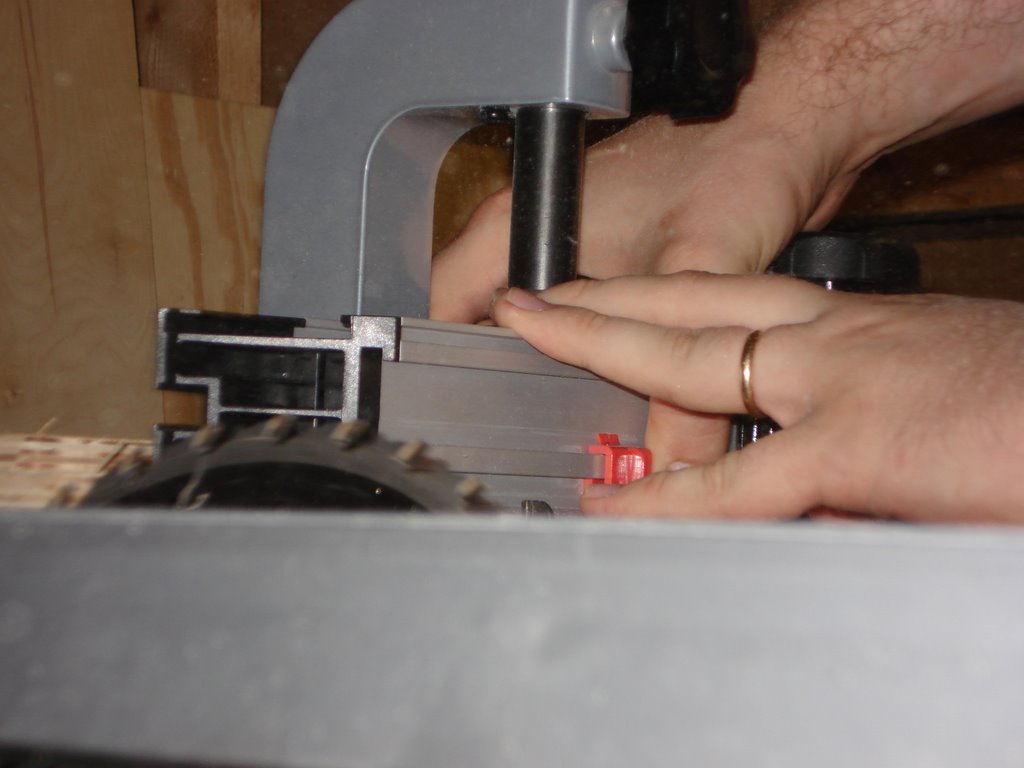
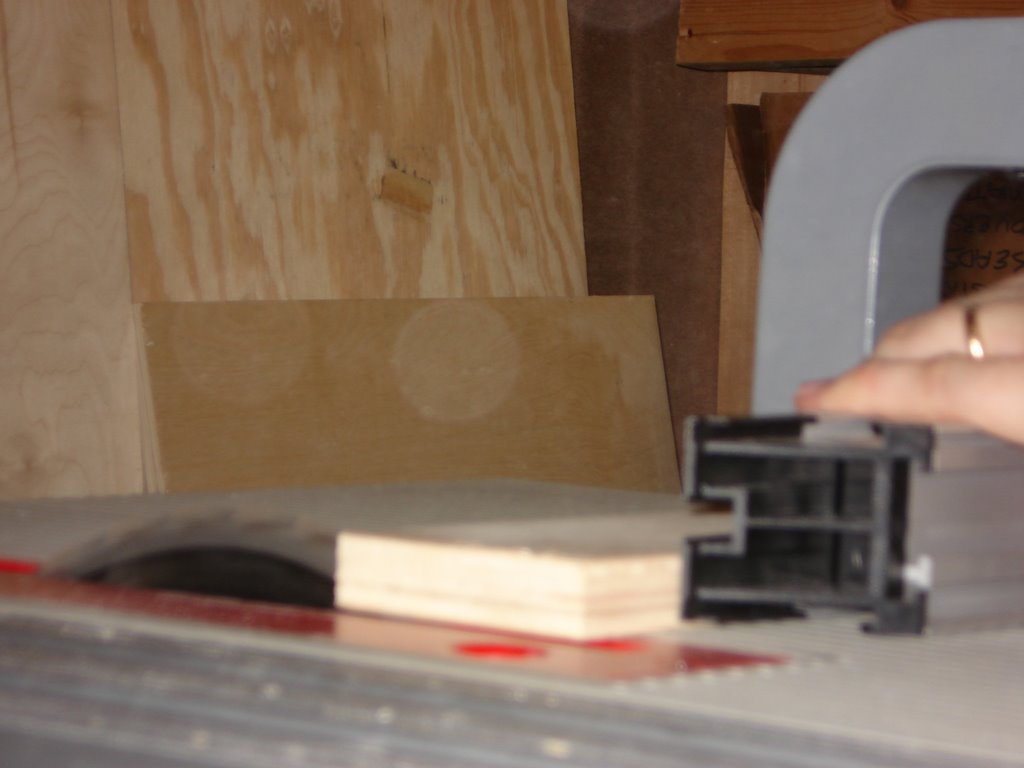
So this weekend we got a bit more done on the arcade. We cut a 4'x8' sheet of birch plywood down to size and made all the pieces needed for the control panel. So the parts remaining for the control panel are to:

1) cut 45 degree mitres on angled side pieces
2) cut rabbits in side pieces
3) cut corners from the control panel top
4) cut holes for controls
5) route T-moulding slot into control panel edges
6) cut holes for wiring, bolt holes, and hinges
7) finish control panel
8) assemble control panel
9) install and wire controls

We're planning on working on at least the first two or three steps on Wednesday night.

After all that is done, we'll essentially have a functional arcade cabinet, since we can then mount the control panel to the previously completed 2x4 structure and set the TV on top too. It'll just be ugly as hell at that point. So after that is done it's on to the somewhat-less-tedious parts of cutting, finishing, and assembling the side pieces, the front door, and the angled platform for the TV. And after that there's just a few more cosmetic details like making the bezel and marquis.

Are we going to make it by the middle of July (my personal target date)? I dunno yet, but we should be close.

I'll post more pictures when we've got the control panel assembled.